 Seamfold
How to make a continuous carousel in an image editor
To make a continuous carousel by hand, make one canvas as wide as the panel count times 1080 px, add guides at every 1080 px, design across the guides, then export one slice per panel and post them in order. Any editor with a custom canvas size and guides can do it.
Coming soon to iPhone
What do you need for a continuous carousel?
A design tool that lets you set a custom canvas size and place guides, such as a desktop image editor or an online design tool. Menu names differ, so the steps below describe the method and not the buttons. You also need a source image or a design that is wide enough, and a way to move the exported files to your phone.
What canvas size should you use?
Multiply the panel width by the panel count. The common portrait panel is 1080 x 1350 px (4:5). The carousel size guide lists every size in detail.
| Panels | 4:5 canvas | 3:4 canvas | 1:1 canvas |
|---|---|---|---|
| 2 | 2,160 x 1,350 | 2,160 x 1,440 | 2,160 x 1,080 |
| 3 | 3,240 x 1,350 | 3,240 x 1,440 | 3,240 x 1,080 |
| 4 | 4,320 x 1,350 | 4,320 x 1,440 | 4,320 x 1,080 |
| 5 | 5,400 x 1,350 | 5,400 x 1,440 | 5,400 x 1,080 |
| 6 | 6,480 x 1,350 | 6,480 x 1,440 | 6,480 x 1,080 |
How do you build it, step by step?
- Create a new document at the full canvas size, in pixels, at 72 dpi.
- Add vertical guides at 1,080, 2,160 and so on, one at each fold.
- Place your photo or background so it covers the whole canvas.
- Design across the guides, keeping words and faces off them.
- Export the canvas as slices, one 1,080 px wide piece per panel, as PNG or high-quality JPEG.
- Rename the files 01, 02, 03 so they sort in order, then send them to your phone.
What goes wrong with the manual method?
Rounding and naming. If your canvas is 4,319 px instead of 4,320, the last slice is one pixel short, and the editor may stretch or pad it, which puts a hairline at a fold. If the files sort as 1, 10, 2, 3, you will post them in the wrong order. Another trap is transferring the files by a chat app that compresses them, which softens the picture before the social app does. And designers often forget the 3:4 crop in the profile grid, so the cover text gets trimmed.
How do you transfer the files to the phone?
AirDrop keeps the files at full quality and puts them in Photos, though the order depends on how they arrive, so sort by date added and check. Cloud drives work too, as long as you use the original file option. Avoid messaging apps and mail previews that resize images. After the transfer, open each slice and check the dimensions, which should all read 1080 pixels wide.
How do you check the seams before posting?
Put the slices side by side in an album and swipe through them on the phone in order. Look at the horizon, the edges of objects and any text at the folds. If you see a step or a gap, fix the canvas and re-export. A phone app does this check for you. Seamfold's swipe test pages through the panels the way followers see them, and its seam check flags text on a fold.
When is a phone app the quicker route?
When the source is a photo already on your phone and you want to avoid the transfer. In an app such as Seamfold you pick the photo, choose a ratio, check the panel count and save the panels straight to Photos in order. The panels are views of one spread, so every cut lands on the same pixel without you computing it. The splitter page explains the method. A desktop tool still wins when you need heavy retouching, layers or brand templates.
A comparison of the two routes
| Step | By hand in a desktop editor | In a phone splitter |
|---|---|---|
| Canvas size | You calculate it | Chosen from the ratio and panel count |
| Folds | You place the guides | Shown as dashed lines with numbers |
| Slicing | You export slices | Panels are views of one spread |
| File order | You rename the files | Saved in order, panel 1 first |
| Transfer | AirDrop or cloud | None, saved to Photos |
| Seam check | By eye | Flags text on a fold |
| Retouching | Full control | Basic placement and text |
How do you design a picture that survives the cut?
Think of the canvas as one long poster that will be viewed through a moving window. The window shows 1080 px at a time, so anything that matters should be at least a hand's width from each fold. Large objects crossing a fold are a feature, because they pull the viewer across. Small details crossing a fold are a risk, because a gap or a slight shift makes them look broken.
Use leading lines, such as a road, a rail or a horizon, to carry the eye from one slide to the next. These are standard devices from composition in the visual arts, and they work well on a wide canvas. Put the focal point in the middle of a slide and let the transitions between slides be quieter.
Which file format should you export?
PNG for graphics, text and flat colors, and a high-quality JPEG for photographs. PNG files are larger, but they do not add compression damage before the social app applies its own. Export at exactly 1080 px wide per slice, no larger. A wider file is scaled down by the social app and gains nothing. If your tool offers a quality slider for JPEG, keep it high and avoid saving the same file twice.
What about online design tools?
Most online design tools can create a custom size and show rulers or guides, so the same canvas math applies. Some also have templates for continuous carousels, where a long page is laid out in ready-made sections. When you export, check whether the tool gives you separate slides or one long image. If it gives one long image, you still have to cut it, and a splitter does that in a minute. Menus and plans on these sites change often, so check the current options before you rely on a feature.
How long does the manual route take?
For a first project, expect half an hour: setting up the canvas, placing the image, adding guides, exporting and moving the files. Once you have a saved template with the guides in place, the work shrinks to about ten minutes, most of it design. The slow part is usually the transfer and the check on the phone. If you make carousels every week, keep one template per panel count and ratio, and name the export folder after the date, so the files never get mixed with an older set.
A checklist for the manual route
- The canvas is an exact multiple of 1,080 px.
- Guides sit at every multiple of 1,080 px.
- No word or face touches a guide.
- The slices are named in order.
- The files reached the phone without compression.
- You swiped through the set once before posting.
Frequently asked questions
What canvas size do I need for a 4-slide continuous carousel?
4,320 x 1,350 px for 4:5 slides, 4,320 x 1,440 px for 3:4, or 4,320 x 1,080 px for squares.
How do I slice a canvas for social media?
Place guides at every 1,080 px and export a slice for each section as PNG or high-quality JPEG, named in order.
Why is there a line between my slides?
The usual cause is a canvas that is not an exact multiple of 1,080 px, or an export with rounding at the edge.
Can I make a continuous carousel without a computer?
Yes. A phone splitter cuts a photo into panels and saves them in order. Seamfold does this and is in development.
Is there a template that does this?
Templates exist in many design tools, but the method is the same: a wide canvas, guides at every fold and slices exported in order.
Keep exploring
 How to Split a Panorama for a Carousel, With SizesPanel counts, pixel widths and the steps to cut a panorama into a carousel.
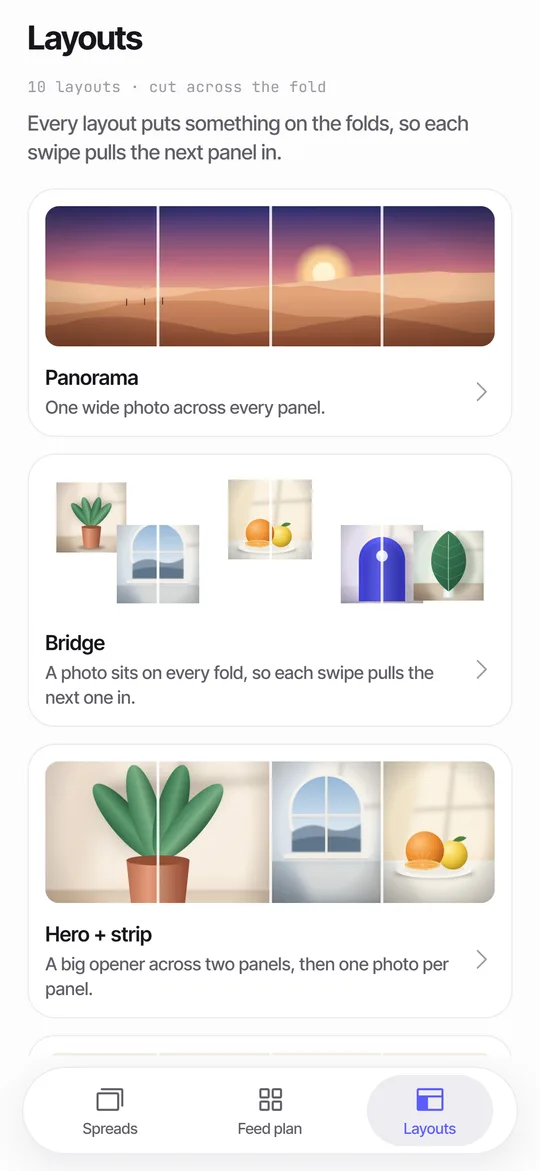 Panorama Splitter for Social Carousels on iPhoneCut a panorama into 2 to 20 panels, or build a spread from several photos with 10 layouts.How to Select Multiple Photos for a Post on iPhoneStep-by-step multi-select, ordering, the 20-photo limit and fixes for common problems.How to Make a Photo Collage Carousel on iPhoneLayouts, steps and checks for a multi-photo collage carousel built from one continuous spread.